Shimmery Snowflakes

10.3.2021

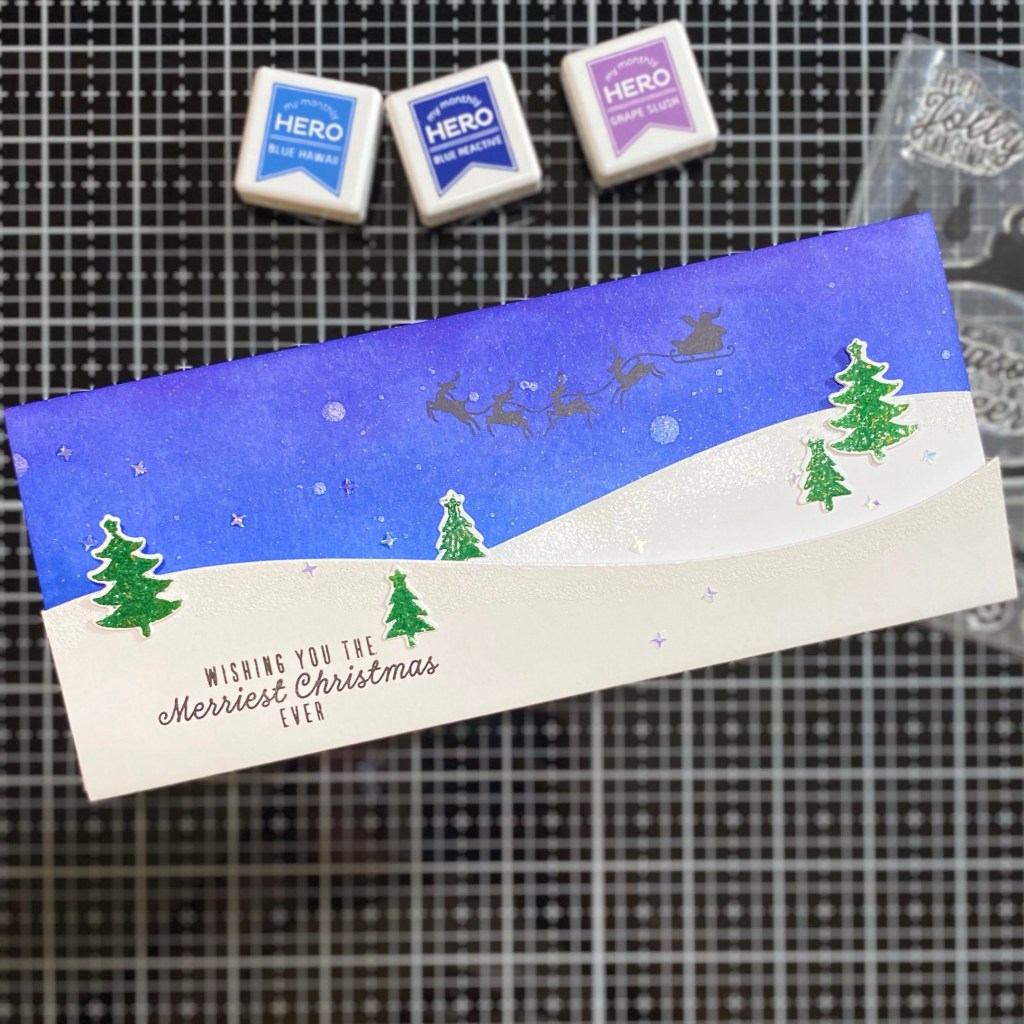
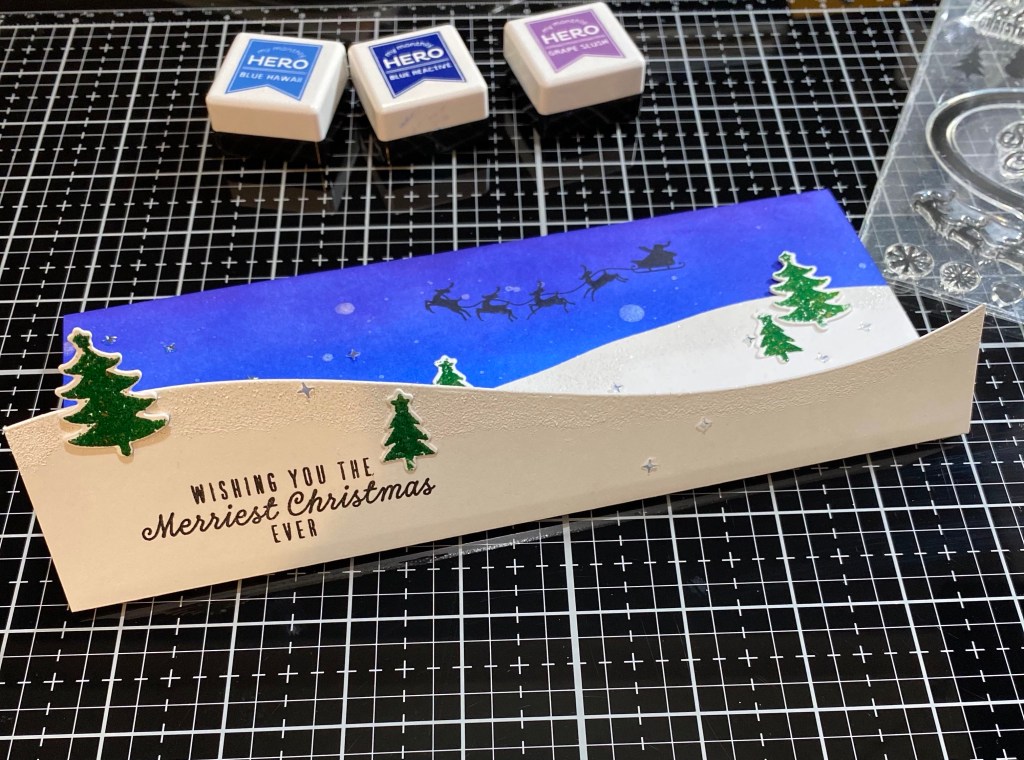
It’s 93* where I live today but here I am creating snowflake cards. This slimline card was made using the Hero Arts slimline alignment tool. I was inspired by the Hero Arts Looking Glass dies but also wanted to try out these large snowflakes.

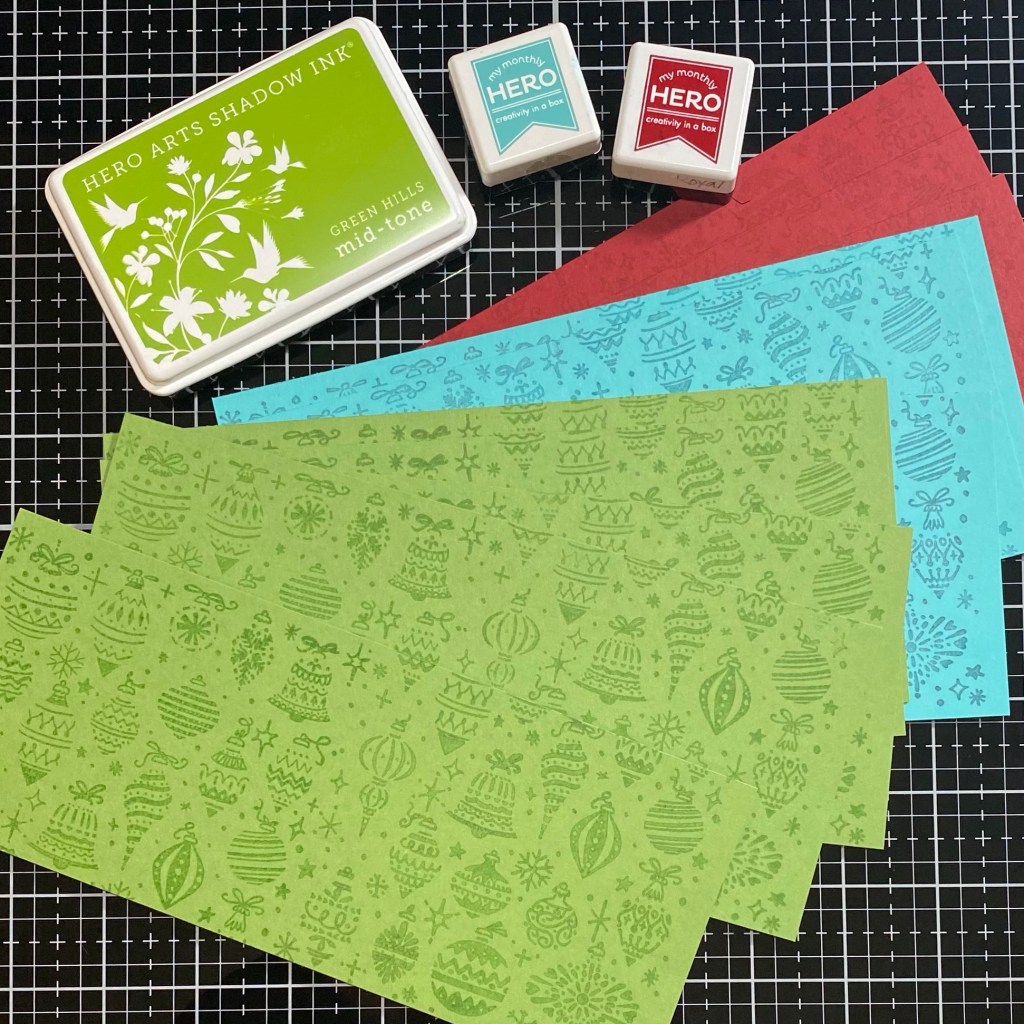
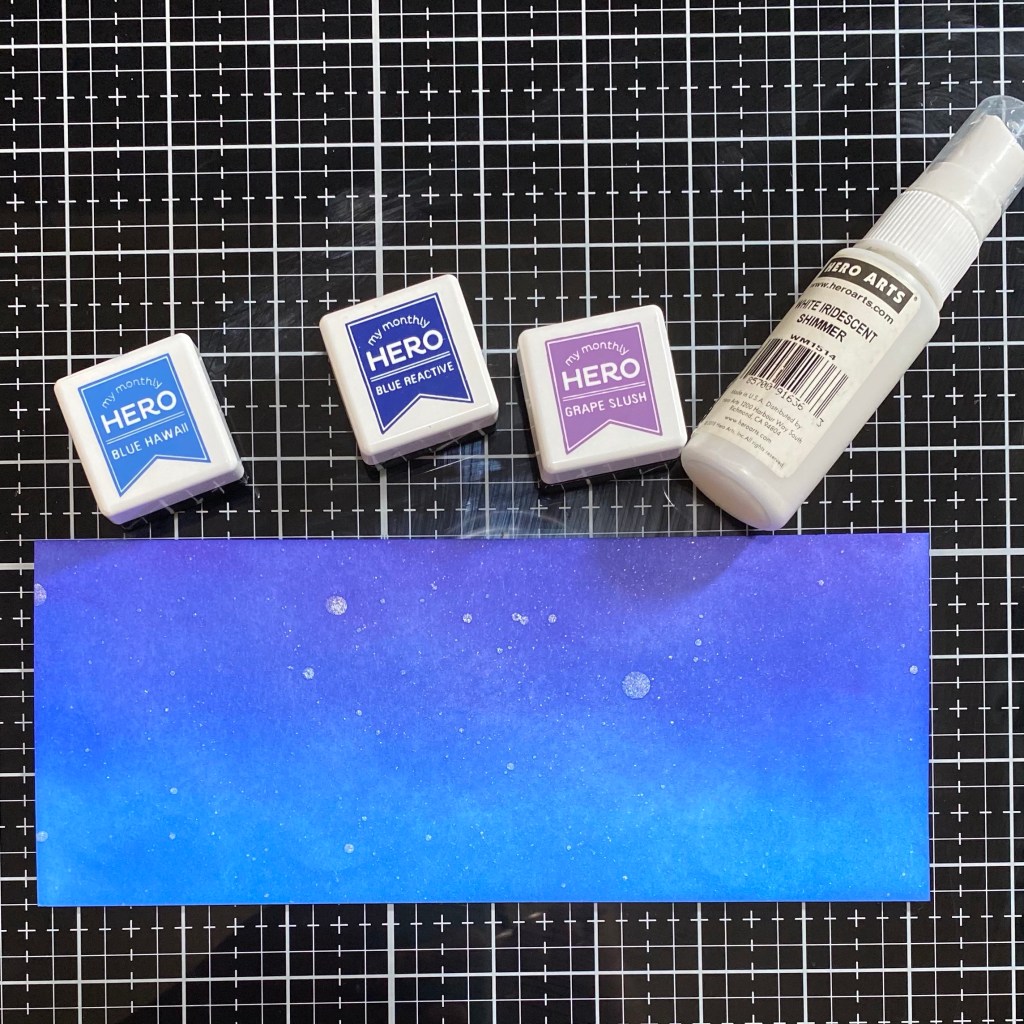
I started by using the tool to ink blend the squares in the background with Pool Party and Blue Raspberry reactive inks. I sprinkled a couple water drops just for fun.

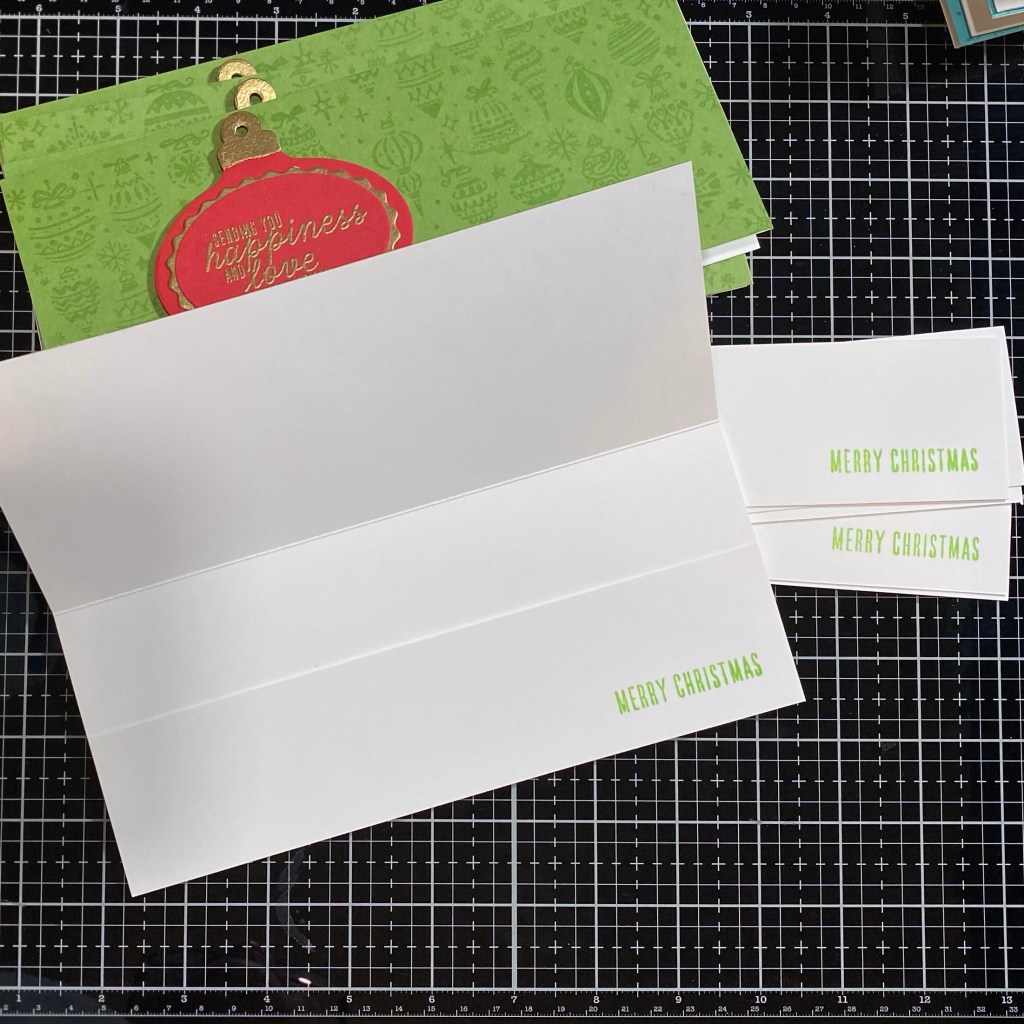
I die cut the Large Snowflake and Swirls from the Hero Arts white glitter cardstock and holographic cardstock. I die cut a slimline card panel with square dies and aligned the. Using the alignment tool. I attached the snowflakes and swirls to the inside of the die cut panel and directly to the ink blended panel. I trimmed the die cut panel just slightly on each side.

Then I popped up the die cut panel with fun foam and adhered it to the card base. I thought it needed a little more grounding so I added a thin strip of the holographic cardstock along the long sides.

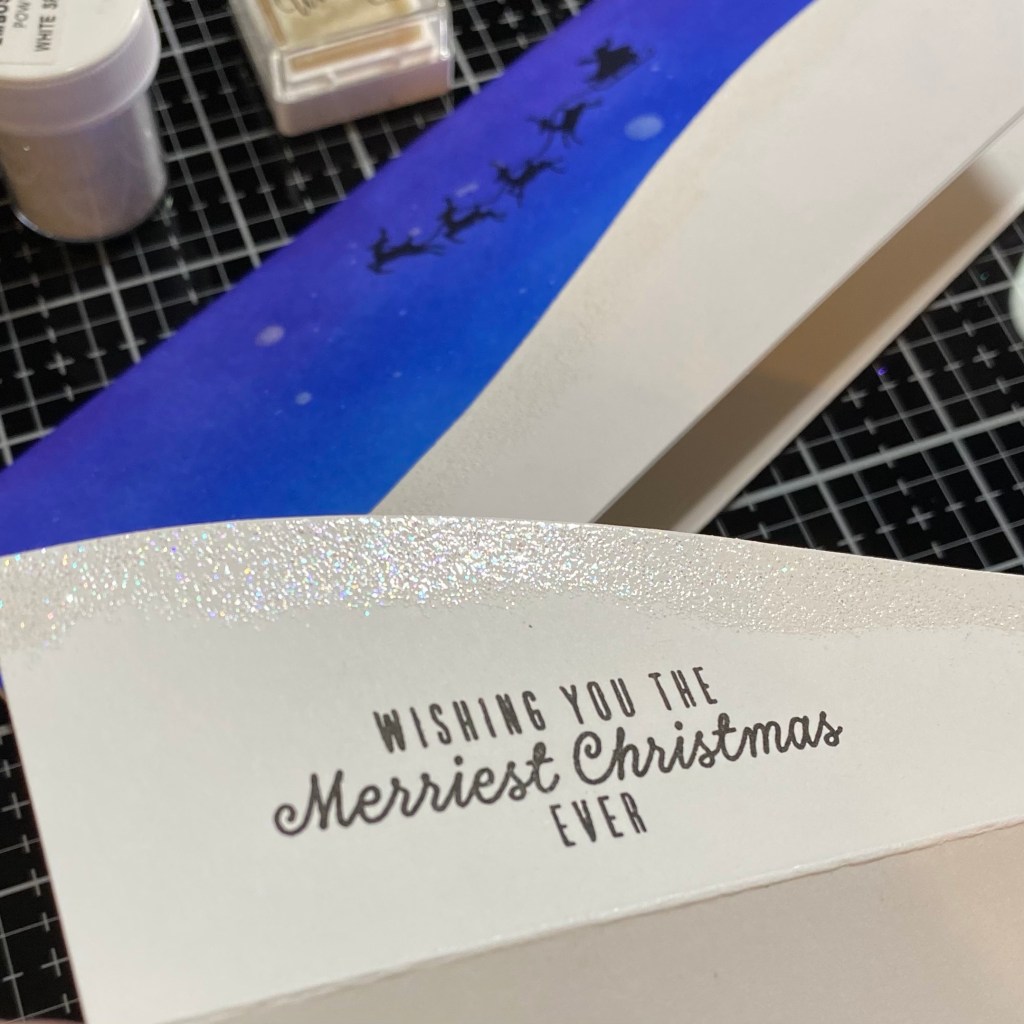
Lastly, I stamped the sentiment from the Christmas Holidays stamp and cut XL and adhered it to the card. I think this card could be easily converted to a traditional A2 card too. until next time, Happy Crafting!

Take 2: Slimline Christmas Money card

11.15.2020

Last week I posted a beautiful slimline money card but it wasn’t exactly easy to mass produce. So, I went back to the drawing board and found a winner! My mother in law requested 11 money cards to give to her grandkids for Christmas. I used key components from two Hero Arts My Monthly Kits, November 2018 and October 2020.

My card panels are 3.5 x 8.5 inch Hero Hues card stock in Meadow, Cherry and Paradise. I used the cling background ornament stamp from November 2018. I love this background stamp. The red rubber makes the best impressions. When I stamped the background I used different half’s of the stamp so the print was not repetitive. I used a Red Royal ink cube on the Cherry card stock, Green Hills shadow ink on the Meadow card stock and Light Teal ink cube on Paradise card stock.

Then I used the ornament die from the October 2020 kit to die cut coordinating ornaments and ovals. I also used Neenah 110lb card stock to die cut the scallop ovals.

I emboss the scalloped ovals with gold and silver embossing powder. While I had the heat gun hot, I embossed the ornament toppers and a sentiment from the November 2020 kit. Then I assembled the ornaments with Hero Arts precision glue and popped them up on craft foam.

I cut 11 card bases from 110lb Neenah solar white. I used the extra piece to cut a 2 x 8.5 strip for the inside. I stamped Merry Christmas in the coordinating ink.

I attached the 2 inch strip on the sides and bottom to make a pocket to hold money. I was going to stamp more on the inside but let’s face it, once the kids see money, they won’t see anything else. Haha! Plus, it leaves space for a handwritten note.

This card was all about assembly line production. It went fairly quick but still felt like it was missing something so I added a bow to the ornaments. I think this was the perfect finishing touch. I’ll be putting these in the mail tomorrow. I am sure my mother in law will enjoy giving the grandkids a handmade card. ❤️

Slimline Christmas Card

My mother in law asked me to make her 11 Christmas cards to hold money and of course I said I would. I had just received my October Hero Arts My Monthly Hero kit so I was excited to bust open the kit and start creating. I knew I wanted to make slimline cards so she can add cash to them. But other than that, I didn’t have a clear direction or idea.

I started with a 3.5 x 8.5 in card panel of Hammermill 110lb. Cover stock. I used Hero Arts ink cubes from past kits in Blue Hawaii, Blue Reactive and Grape Slush reactive inks. I recently started using this Hammermill paper and I’m really liking it. It’s so smooth and perfect for blending. I gave the panel a spritz of Hero Arts shimmer spray and set it aside to dry.

While that was drying I cut some hills using Avery Elle Slimline Basics die. This is a great basics die set. It has a scallop and a stitched rectangle frame plus hill and clouds border and a few other shapes. I swiped Hero Arts Embossing and Watermark ink across the hills and heat embossed the White Sparkle embossing powder long the top edges. It gives the hills some subtle sparkle. I knew I needed to make these hold money but I also wanted it to be a tri-fold card that opened from the top and bottom. I decided to add a flip down panel and attach it to the inside on the edges to make a pocket to hold the money.

I stamped the Santa image onto the ink blended background using Versafine onyx black ink. I like using this ink because it’s the blackest black ink and it stamps crisp edges. The only negative is it absolutely will smear, believe me! I also used that ink for my sentiment.

I stamped, heat embossed and die cut a few of the small and large trees using green-gold embossing powder from the November 2018 kit. I attached them to the card using Hero Arts Precision Glue.

To finish up I added these tiny star like sequins for a previous kit. I always struggle with finishing touches. I feel like I add too much or the placement is awkward. I tried to go light and follow the lines of the snowy hills. While making this card I realized that this design is not easy to mass produce. I’ll need to come up with another card design for my mother in laws cards. But, I’m super happy with the way this one did come out. Back to the drawing board.