Winter Foliage and Transfers

11.8.2023

Hello again! I’m dusting the cobwebs off my blog again. I have some exciting news coming later this month but in the mean time, I’ll be posting some new cards.

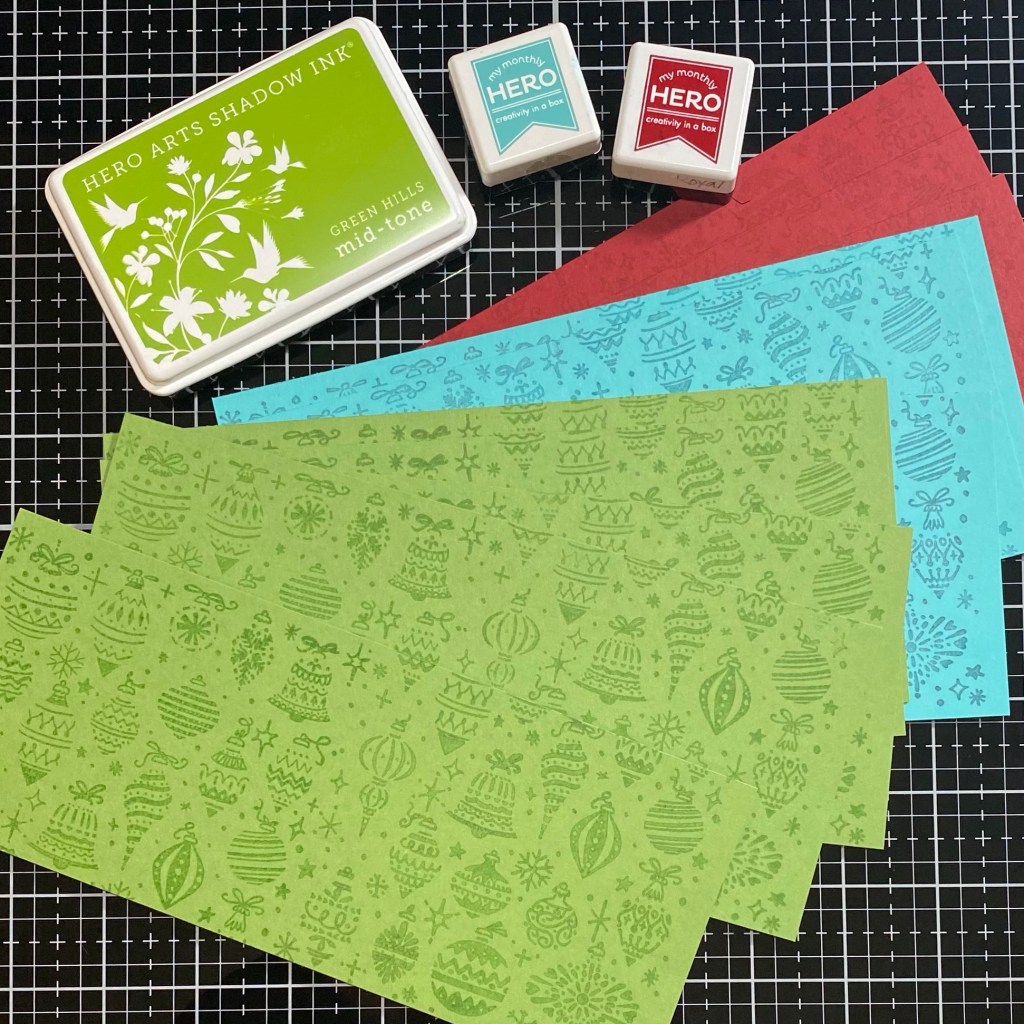
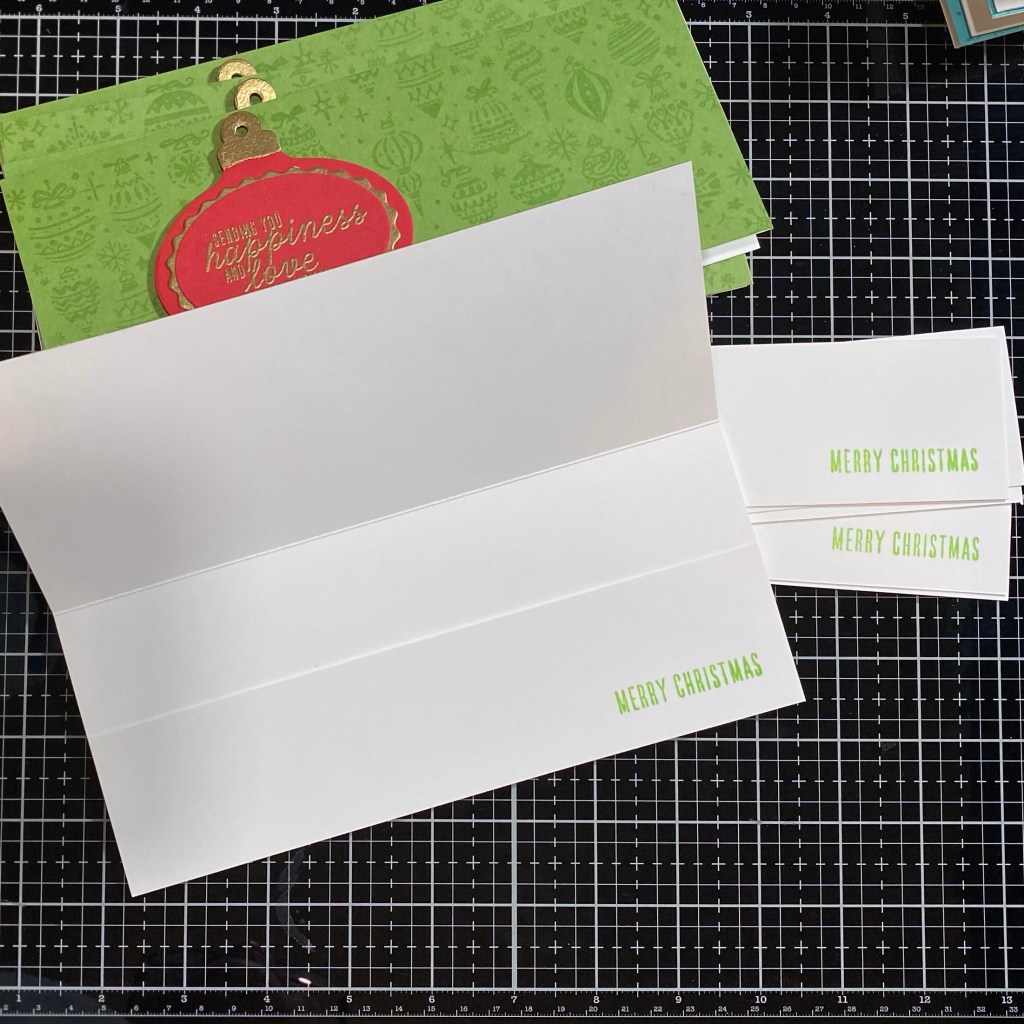
This set of four cards came together pretty quickly. It started with me testing these new Two Tone Metallic sprays from Hero Arts. I used the Bright Yellow + Copper and the Ocean Blue + Gold sprays to create a green background on Bristol smooth paper. After that dried, I die cut lots of foliage from the Winter Foliage Stamp & Cut XL.

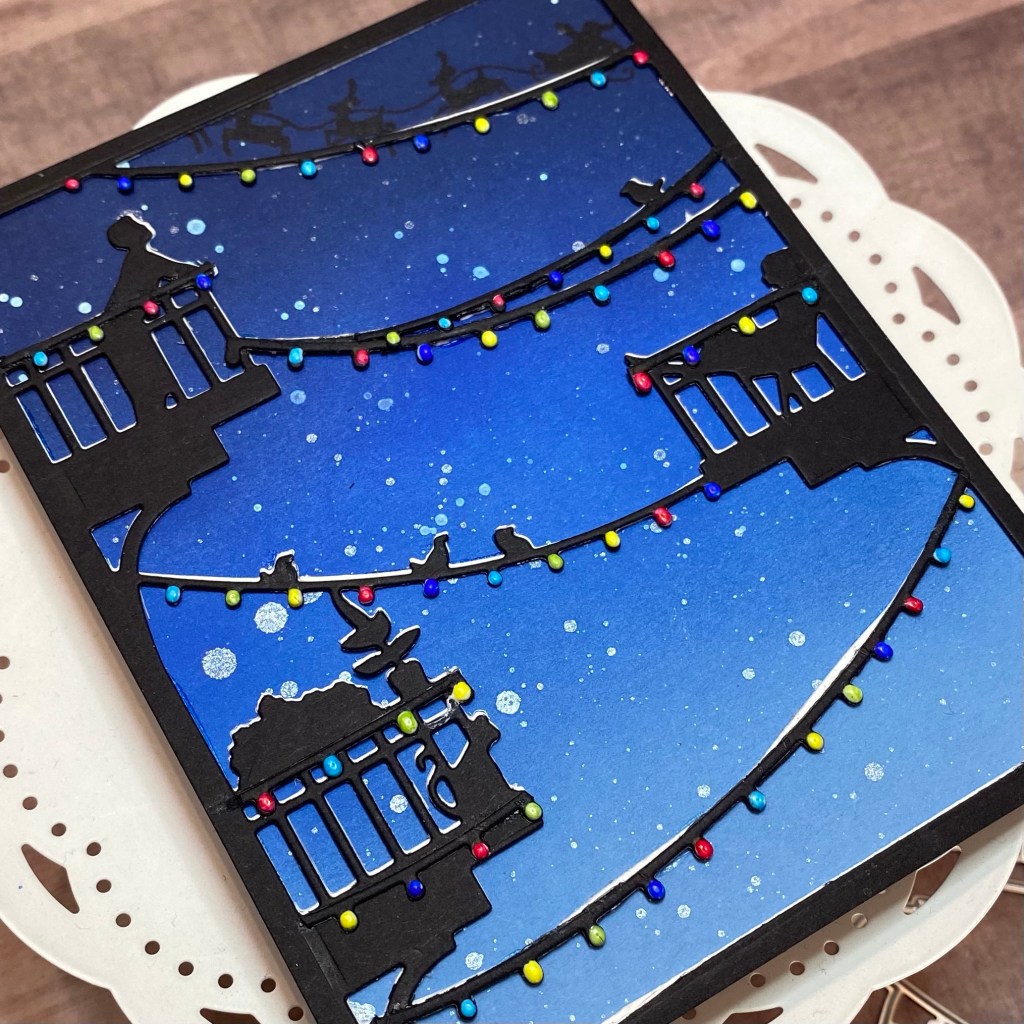
For the background I used two Mist and two Paradise A2 panels. I ink blended around all side of each panel with a combination of Paradise, Aegean, Bermuda and Aquatic Hero Hues Core Inks before giving them all a spritz of Shimmer spay. Once that dried, I splattered some white acrylic spray and set aside to dry completely.

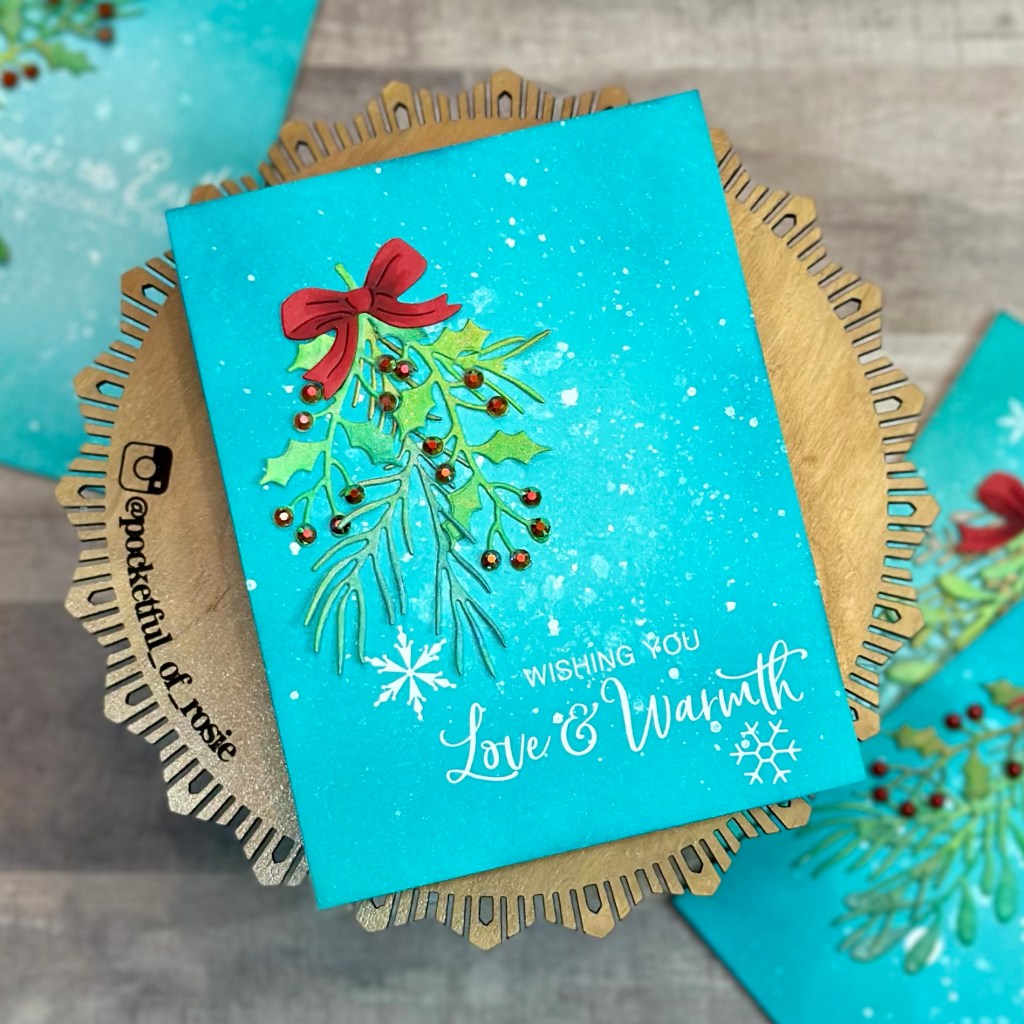
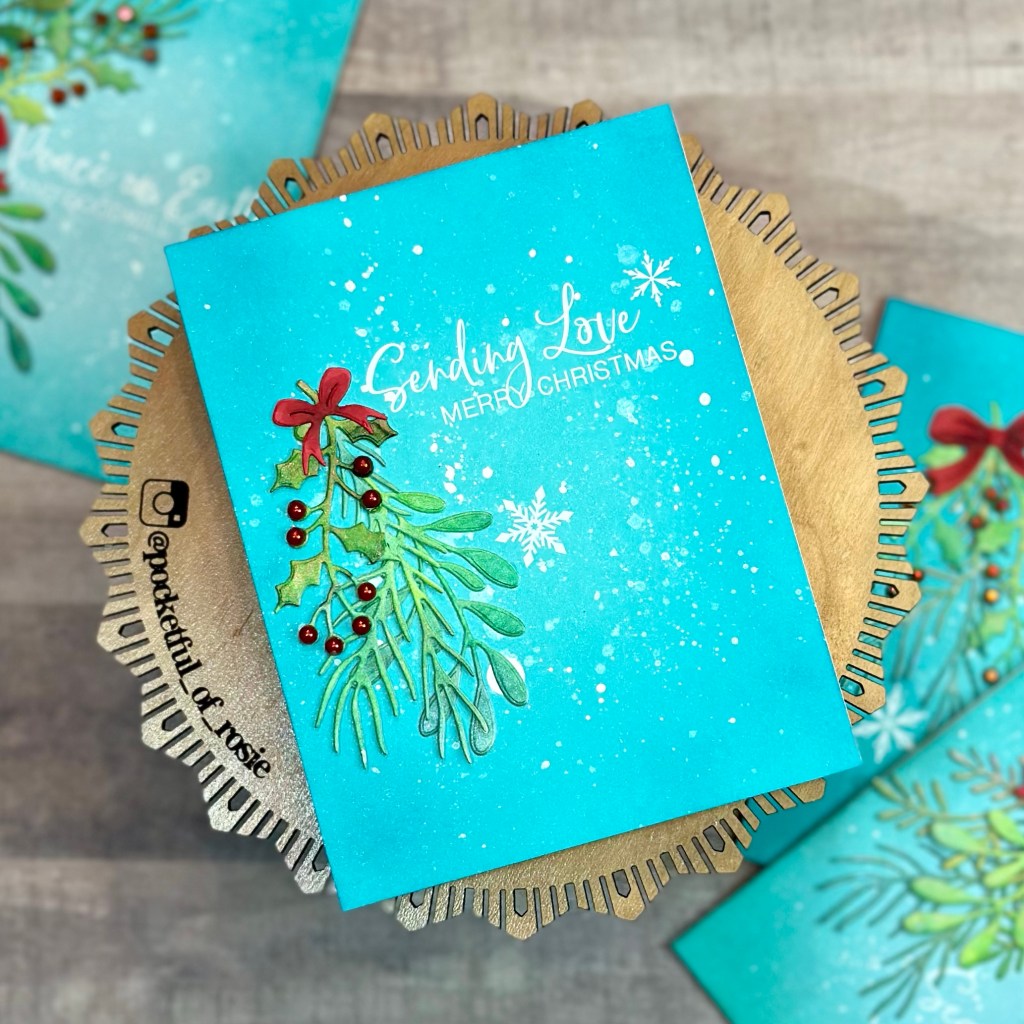
I played around with the winter foliage die cuts rand found some arrangements that I liked but each was a little different. I glued those down and then found a bow die in my stash. I cut that from Cherry cardstock and added some shadows with Copic markers.

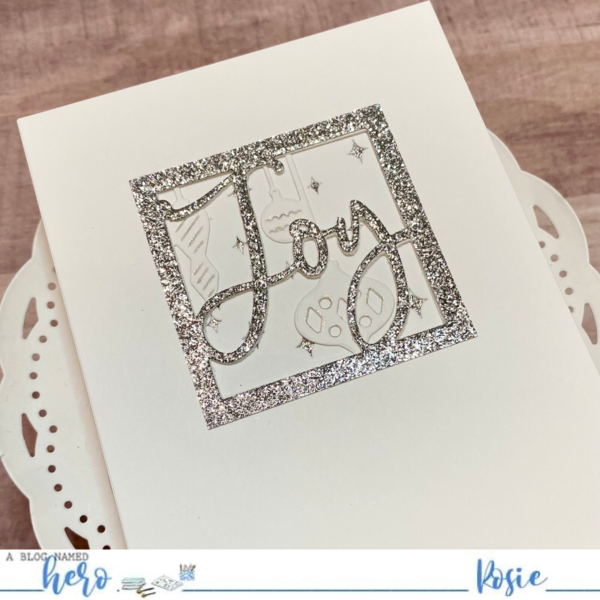
I used the Winter Script Messages Hero Transfers for sentiments and embellishment. These transfers are super easy to use and add some great detail to a pretty flat card. My favorite sentiment in the package is ‘Felix Navidad’ but you know what we crafters do when we really love something…we hoard it! I couldn’t put it on any of the cards because I need to save it fooooreveerrrr. I also added a the little snowflakes here and there.

To finish off the cards I found some red jewels and pearls to use as holly berries. Thanks for taking the time to read my blog! See you soon.

Hero Holiday

12.21.2021

When my My Monthly Hero December kit came in the mail, I was knee deep in Christmas cards. This year I decided to a few vendor/artist events and sell my cards. I was making holiday cards until mid-December.

This card took some time but I love the way I changed it into a holiday card. I started by cutting the fancy frame die from Pitch black and Neenah solar white cardstock. I also cut a few extra string of bulbs so I could inlay them. I took my time and trimmed away the hanging laundry on both panels. I adhered both panels together slightly offset to get a white highlight. Then I inlayed the extra sting of lights over the laundry lines. I also added strings of lights to the balcony.

For the back panel I used Periwinkle Hero Hues cardstock and ink blended with Blue Hawaii reactive ink and a darker blue reactive ink from an old MMH kit. I splattered white metallic ink and spritzed some white Shimmer Mist to look like stars. I pulled the Santa sled silhouette stamp from my stash and stamped it with black pigment ink. I wanted a dark and crisp impression and this was perfect.

After the panel was completely dry, I adhered the die cut panel to the background panel. I used white Nuvo drops on every light bulb. Once that was dry I used Copic markers to color the light bulbs. I wanted a Christmas bulb look but didn’t have every color of Nuvo drops. What do you think? I think it was a pretty good solution.

I went back and forth when deciding on a sentiment. I decided on no sentiment for the front. I didn’t want anything covering or distracting from the panel.

I hope everyone has a wonderful holiday season filled with lots of bright lights.

Winter Night

11.21.2021

I have been having so much fun on the A Blog Named Hero design team this past year. It has challenged me creatively and I have learned some valuable lessons. The biggest lesson being whatever idea you have in your head for a card is probably not the card that will be posted. I usually have an idea for a card but then halfway through chuck it and do something else. I am pretty sure this has happened with two-thirds of my projects. So, enjoy the process and add some GLITZ!

I used Nautical Hero Hues cardstock and stamped the Etched Winter Swirls bold print using Embossing and Watermark ink and Black Sparkle embossing powder. I trimmed that down to an A2 card panel and adhered to a top folding card base. I also used a silver embossing powder to heat emboss the sentiment from Holiday Icons and Messages stamp set on a scrap piece of Nautical cardstock.

I used the Trifold Edge Village Fancy die to die cut three panels. The bottom two layers are from Hero Arts Glitter Paper sheets from the Holiday Sparkle and Paper Basics packs. I needed one more layer so I used White Sparkle embossing powder to heat emboss the tallest layer. I adhered everything together using Hero Arts Precision glue and then put my iPad on top while it dried.

This card came together quickly and the sparkle is a showstopper!

Clean and Simple

9.21.2021

I took a bit of a blog hiatus but I’m back. I’ve been creating cards like crazy but not taking the time to blog about them. I have a stack of cards to post so more cards to come!

This card is a project for A Blog Named Hero September challenge. The theme this month is Clean and Simple. Well, this card came together in under 30 minutes so I’d say that’s about as clean and simple as it gets!

I used Hero Arts Looking Glass dies (Ornaments and Peace Love Joy). I cut 3 A2 panels of white cardstock and used the Alignment tool to center the dies. I die cut each panel and adhered them together with Precision glue.

I cut a piece of silver glitter cardstock to 2.5 in square and die cut Joy in the center. I adhered that to the top and put a scrap of silver glitter paper behind the stars. I thought it looked a little flat so I used a Silver Gelly Roll pen to highlight the details to the ornaments.

That was it! I put that on a card base and Bam! Done! Clean and Simple. These Looking glass dies are so fun and super easy to use. I can’t wait to create some more for family and friends.

Don’t forget to enter A Blog Named Hero challenge on Instagram. Just use #abnhseptemberchallenge when you post your Clean and Simple project. Until next time, stay crafty!

Take 2: Slimline Christmas Money card

11.15.2020

Last week I posted a beautiful slimline money card but it wasn’t exactly easy to mass produce. So, I went back to the drawing board and found a winner! My mother in law requested 11 money cards to give to her grandkids for Christmas. I used key components from two Hero Arts My Monthly Kits, November 2018 and October 2020.

My card panels are 3.5 x 8.5 inch Hero Hues card stock in Meadow, Cherry and Paradise. I used the cling background ornament stamp from November 2018. I love this background stamp. The red rubber makes the best impressions. When I stamped the background I used different half’s of the stamp so the print was not repetitive. I used a Red Royal ink cube on the Cherry card stock, Green Hills shadow ink on the Meadow card stock and Light Teal ink cube on Paradise card stock.

Then I used the ornament die from the October 2020 kit to die cut coordinating ornaments and ovals. I also used Neenah 110lb card stock to die cut the scallop ovals.

I emboss the scalloped ovals with gold and silver embossing powder. While I had the heat gun hot, I embossed the ornament toppers and a sentiment from the November 2020 kit. Then I assembled the ornaments with Hero Arts precision glue and popped them up on craft foam.

I cut 11 card bases from 110lb Neenah solar white. I used the extra piece to cut a 2 x 8.5 strip for the inside. I stamped Merry Christmas in the coordinating ink.

I attached the 2 inch strip on the sides and bottom to make a pocket to hold money. I was going to stamp more on the inside but let’s face it, once the kids see money, they won’t see anything else. Haha! Plus, it leaves space for a handwritten note.

This card was all about assembly line production. It went fairly quick but still felt like it was missing something so I added a bow to the ornaments. I think this was the perfect finishing touch. I’ll be putting these in the mail tomorrow. I am sure my mother in law will enjoy giving the grandkids a handmade card. ❤️